With the work that has been done in the debian-installer/netcfg merge-proposal !9 it is possible to install a standard Debian system, using the normal Debian-Installer (d-i) mini.iso images, that will come pre-installed with Netplan and all network configuration structured in /etc/netplan/.
In this write-up, I’d like to run you through a list of commands for experiencing the Netplan enabled installation process first-hand. Let’s start with preparing a working directory and installing the software dependencies for our virtualized Debian system:
$ mkdir d-i_tmp && cd d-i_tmp
$ apt install ovmf qemu-utils qemu-system-x86
Now let’s download the official (daily) mini.iso, linux kernel image and initrd.gz containing the Netplan enablement changes:
$ wget https://d-i.debian.org/daily-images/amd64/daily/netboot/gtk/mini.iso
$ wget https://d-i.debian.org/daily-images/amd64/daily/netboot/gtk/debian-installer/amd64/initrd.gz
$ wget https://d-i.debian.org/daily-images/amd64/daily/netboot/gtk/debian-installer/amd64/linux
Next we’ll prepare a VM, by copying the EFI firmware files, preparing some persistent EFIVARs file, to boot from FS0:\EFI\debian\grubx64.efi, and create a virtual disk for our machine:
$ cp /usr/share/OVMF/OVMF_CODE_4M.fd .
$ cp /usr/share/OVMF/OVMF_VARS_4M.fd .
$ qemu-img create -f qcow2 ./data.qcow2 20G
Finally, let’s launch the debian-installer using a preseed.cfg file, that will automatically install Netplan (netplan-generator) for us in the target system. A minimal preseed file could look like this:
# Install minimal Netplan generator binary
d-i preseed/late_command string in-target apt-get -y install netplan-generator
For this demo, we’re installing the full netplan.io package (incl. the interactive Python CLI), as well as the netplan-generator package and systemd-resolved, to show the full Netplan experience. You can choose the preseed file from a set of different variants to test the different configurations:
- Netplan minimal
- Netplan + systemd-resolved configuration
- Netplan + NetworkManager configuration
We’re using the linux kernel and initrd.gz here to be able to pass the preseed URL as a parameter to the kernel’s cmdline directly. Launching this VM should bring up the official debian-installer in its netboot/gtk form:
$ export U=https://people.ubuntu.com/~slyon/d-i/netplan-preseed+full.cfg
$ qemu-system-x86_64 \
-M q35 -enable-kvm -cpu host -smp 4 -m 2G \
-drive if=pflash,format=raw,unit=0,file=OVMF_CODE_4M.fd,readonly=on \
-drive if=pflash,format=raw,unit=1,file=OVMF_VARS_4M.fd,readonly=off \
-device qemu-xhci -device usb-kbd -device usb-mouse \
-vga none -device virtio-gpu-pci \
-net nic,model=virtio -net user \
-kernel ./linux -initrd ./initrd.gz -append "url=$U" \
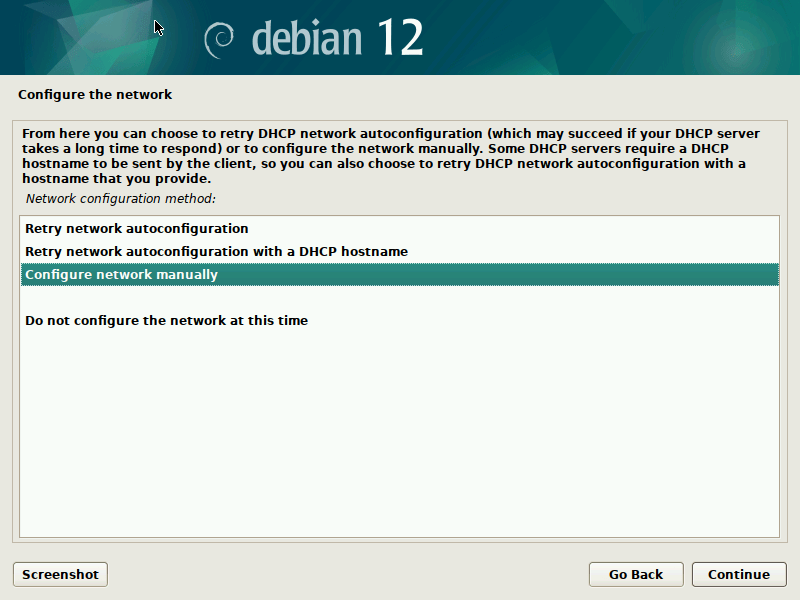
-hda ./data.qcow2 -cdrom ./mini.iso;Now you can click through the normal Debian-Installer process, using mostly default settings. Optionally, you could play around with the networking settings, to see how those get translated to /etc/netplan/ in the target system.
After you confirmed your partitioning changes, the base system gets installed. I suggest not to select any additional components, like desktop environments, to speed up the process.
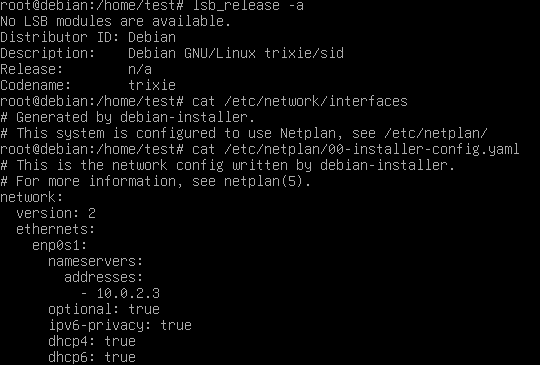
During the final step of the installation (finish-install.d/55netcfg-copy-config) d-i will detect that Netplan was installed in the target system (due to the preseed file provided) and opt to write its network configuration to /etc/netplan/ instead of /etc/network/interfaces or /etc/NetworkManager/system-connections/.
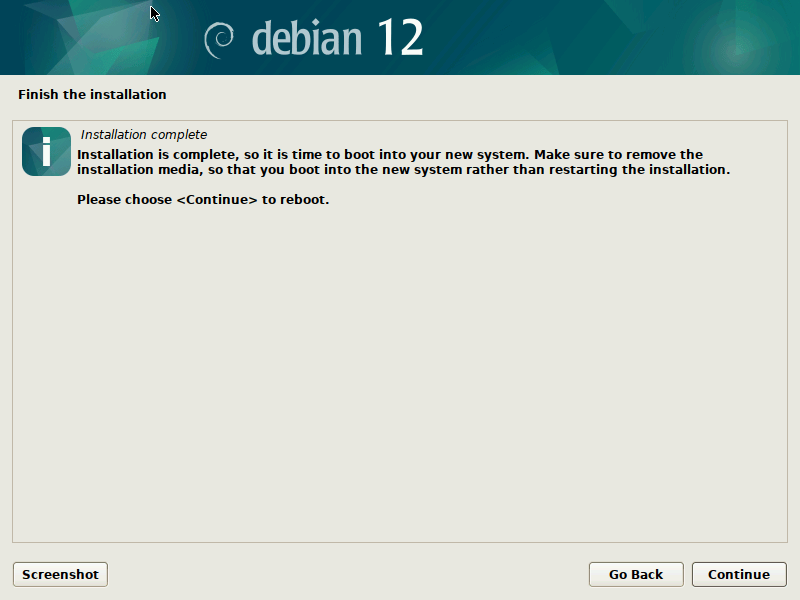
Done! After the installation finished, you can reboot into your virgin Debian Sid/Trixie system.
To do that, quit the current Qemu process, by pressing Ctrl+C and make sure to copy over the EFIVARS.fd file that was modified by grub during the installation, so Qemu can find the new system. Then reboot into the new system, not using the mini.iso image any more:
$ cp ./OVMF_VARS_4M.fd ./EFIVARS.fd
$ qemu-system-x86_64 \
        -M q35 -enable-kvm -cpu host -smp 4 -m 2G \
        -drive if=pflash,format=raw,unit=0,file=OVMF_CODE_4M.fd,readonly=on \
        -drive if=pflash,format=raw,unit=1,file=EFIVARS.fd,readonly=off \
        -device qemu-xhci -device usb-kbd -device usb-mouse \
        -vga none -device virtio-gpu-pci \
        -net nic,model=virtio -net user \
        -drive file=./data.qcow2,if=none,format=qcow2,id=disk0 \
        -device virtio-blk-pci,drive=disk0,bootindex=1
        -serial mon:stdio
Finally, you can play around with your Netplan enabled Debian system! As you will find, /etc/network/interfaces exists but is empty, it could still be used (optionally/additionally). Netplan was configured in /etc/netplan/ according to the settings given during the d-i installation process.
In our case, we also installed the Netplan CLI, so we can play around with some of its features, like netplan status:
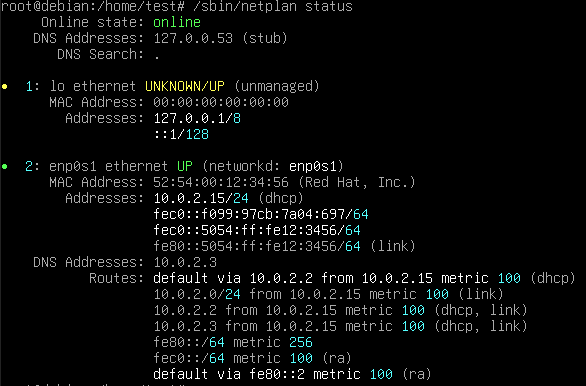
Thank you for following along the Netplan enabled Debian installation process and happy hacking! If you want to learn more, find us at GitHub:netplan.